
How to Create a Successful Welcome Package
Start your client-experience off right with a Solid Welcome Package. A Welcome Package is a collection of pages you share with clients during your first meeting that makes a great first impression. I recommend preparing 5-10 packages and having them at the ready. Trust me, you’ll be glad you did.
Your Welcome Package will:
Set the tone for what it will be like to work with you.
Convey that you are a polished professional.
Establish clear expectations at the onset of the project.
Help convert one-time consultations into Full-Service projects.
In today’s post, I’m going to share with you:
Mistakes to avoid.
An outline of my own New Client Welcome Package.
Resources for beautiful packaging you can consider.
And if you don’t want to start from scratch, I’ll share a plug-and-play Welcome Package template you can purchase in the Canva for Interior Designers Shop.
MISTAKES TO AVOID
Here are a few things to avoid when drafting your Welcome Package:
Too Much Information: Keep it succinct. No one wants to read a novel.
Too Wordy: You want the information you include to be scannable. Avoid using never-ending paragraphs when bullet points will do and consider taking advantage of formatting features like bold print to draw attention to key ideas.
Too Much About You: Keep the focus on your clients and how the experience of working with you will be beneficial.
Too Basic: Be sure to infuse your Welcome Package with your brand, personality, and voice. This doesn’t mean being overly cutesy, just your authentic self.
WHAT TO INCLUDE IN YOUR WELCOME PACKAGE
Ok, so now you’re on board with the idea and can’t wait to get started, but you don’t know where to begin, am I right? Don’t worry. I got you. Here’s a real-deal list of the components I personally include in the Welcome Packages I share with actual clients.
Cover Page: This should include your company name and the title of the Welcome Package, along with some imagery. This could be a gallery of your work or a single project you’re really proud of and want to showcase.
Welcome Note: Here I include a headshot along with a warm and friendly letter. Again, keep your letter focused on your clients. It’s not about you. How will your services be beneficial? How will you bring to life the vision they have for their homes? Encourage them to imagine the transformation and begin with the end in mind. At the end, leave a blank space for a hand-written signature and autograph each one with your favorite pen.
Contact Page: Provide your contact information and be sure to include all the ways your clients can get in touch with you: email, phone, mailing address, and social.
Preferred Method of Contact: I personally let clients know that email or phone is the best way to reach me. I don’t text with my clients, but if you do, I suggest outlining the hours during which you will commit to responding, so you’re not answering texts at all hours of the night.
Social Media: Be sure to let clients know where they can find and follow you on social media. This digital element of your business is very important and you want your clients engaged on your platforms whenever possible.
Business Hours: Add your working days and hours. Do you have standard holidays or days that you don’t work? Make sure your clients know up front.
Testimonials: Consider sprinkling in testimonial or two, reminding clients they’ve made the best decision to work with you.
Design Process Overview: In your Design Services & Pricing PDF, you will give a high-level overview of the Design Process. Your Welcome Package should include more detail; however, avoid overwhelming clients with every little step.
Policies - These are your non-negotiable items that outline what it looks like to work with you. These should also be in your contract, but highlighting them here will make them easy to reference. Here are a few examples to consider:
Communication Preferences: Is it okay to text you? Are there designated hours during which you will respond? If communication is received outside those hours, what is your standard response time?
Payments: Make sure clients have clear understanding of payment terms and which payment methods are accepted.
Cancellations: Remember to outline your cancellation policy and identify any fees that may apply if proper notice is not provided.
Important Dates: This is a fill-in-the-blank sheet to write in Milestone Dates like “Concept Design Complete” or “Design Presentation Date.” You may not be able to set these dates during the consultation, but this lets clients know to expect them and they can fill the dates in once they are established.
Your Team: If you have more than one person working for you, introduce them here. Even if they are a virtual assistant, or your bookkeeper. If they will be interacting at all with your clients, introduce them and make their roles known. Make them human and include a headshot, short bio, and contact information.
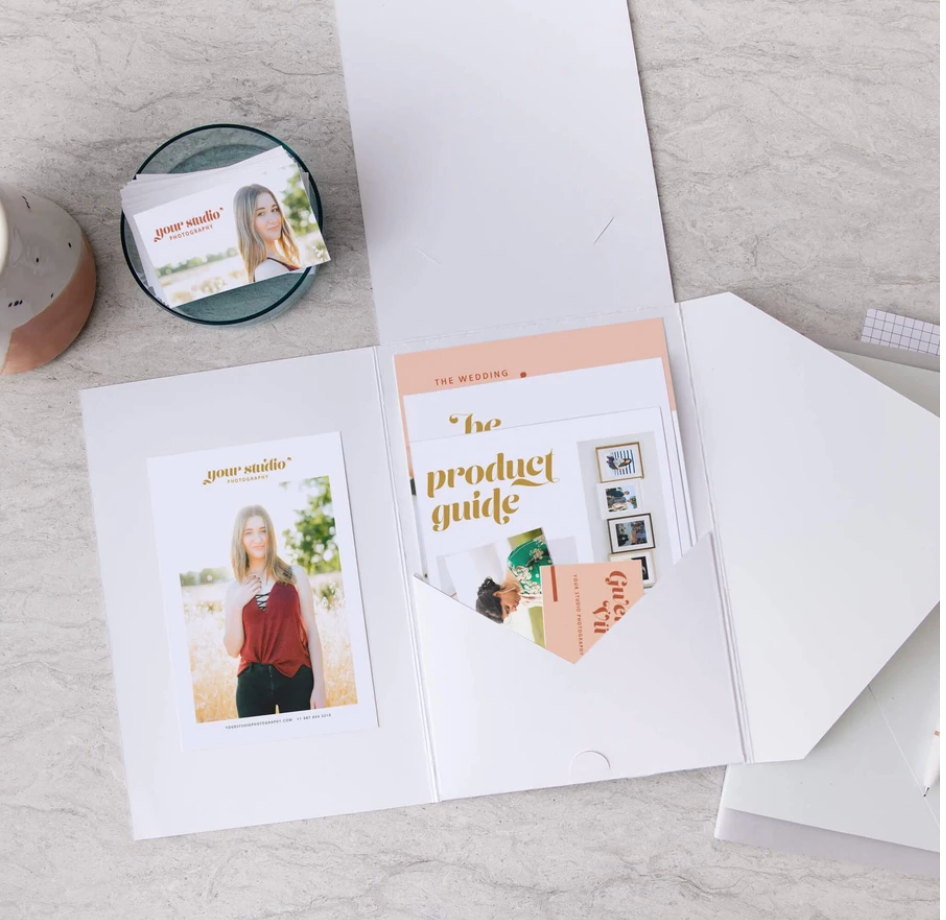
PACKAGE IT UP!
It’s best practice to present your pages in a professional way and your packaging should reflect your brand. Here are a few suggestions for you to consider.
High-Quality Paper: Don’t print this out on your everyday paper. A heavier and brighter paper speaks volumes about the quality of your work. I recommend Hammermill 28lb, 100 Brightness. It’s what I use and love!
Envelopes: Consider a branded envelope that will allow your clients to add to as the project progresses. This way they keep all the design-related information together. Here are a few options to consider:
Design Aglow Premium Welcome Folders, $100 for 25

Paper Source Presentation Envelopes; $14.50 for 5
(check for coupons!)

Zazzle Brandable Folders; $19.95+ for 5

Vistaprint; $475+ for 100 (high minimum orders)
Special Touches: Here are a few ideas for finishing touches that will make opening the package special for clients.
Wax Seal
Ribbon
Tissue Paper
Calligraphy
Notepad or Pen
Whatever you do, DO NOT add fragrance or confetti. It’s not a wedding.
I truly believe a well-designed Welcome Package will set you apart from other designers. It’s proven to be very helpful in my own business, and I know it will impact yours.
Here is the thing, I don’t believe in doing everything from scratch. Why reinvent the wheel if you don’t have to, right? I’m not kidding when I tell you it took me hours to create the Welcome Package I use and really get it right, and I know how overwhelming a project like that can be when you’re getting started.
So what if I told you there was a template available that could help streamline the process?
Well, there is! I’ve turned my very own Welcome Package into a template that you can purchase in my Canva for Interior Designers Shop. All you need to do is add your own images and business details and, voila! You have a beautiful, organized, and branded Welcome Package in minutes. You’re welcome.


