
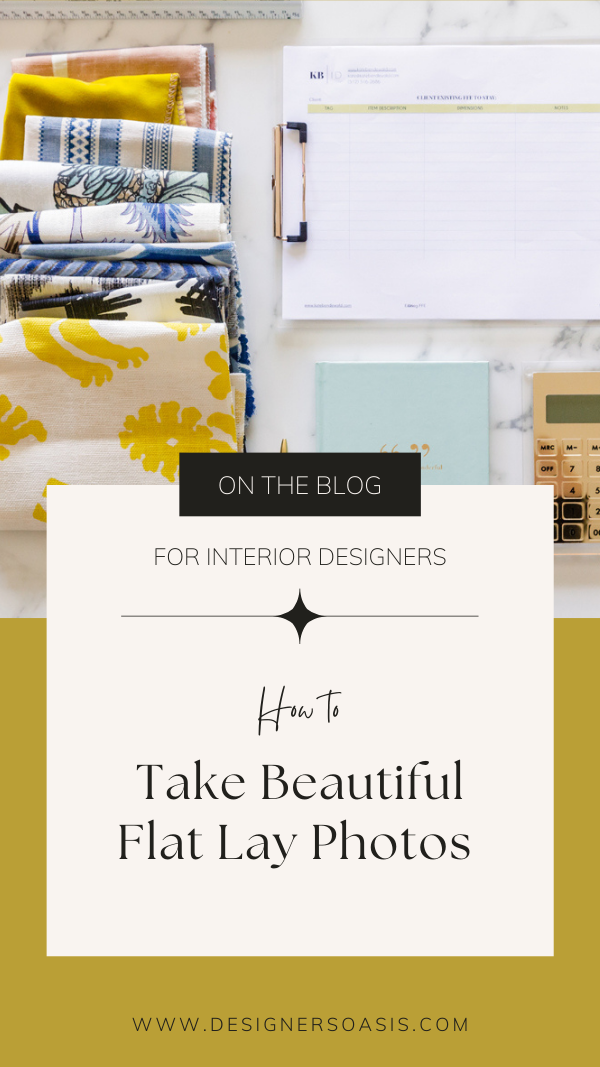
How to Take Beautiful Flat Lay Photos
Flatlay photos are a simple and effective way to capture images that you can use for your social media and website.
You can capture images that showcase projects you are working on, your design process, or mood boards you create.
Here are the tools I recommend:
3x large foam core boards + Optional 4th if you need a clean backdrop
Packing Tape
Smartphone
Lightroom Mobile App
Lightroom Presets
Props
Optional - Flat Lay backgrounds (i.e. wood, marble, etc.)
Step ladder (if you’re photographing on a tabletop)
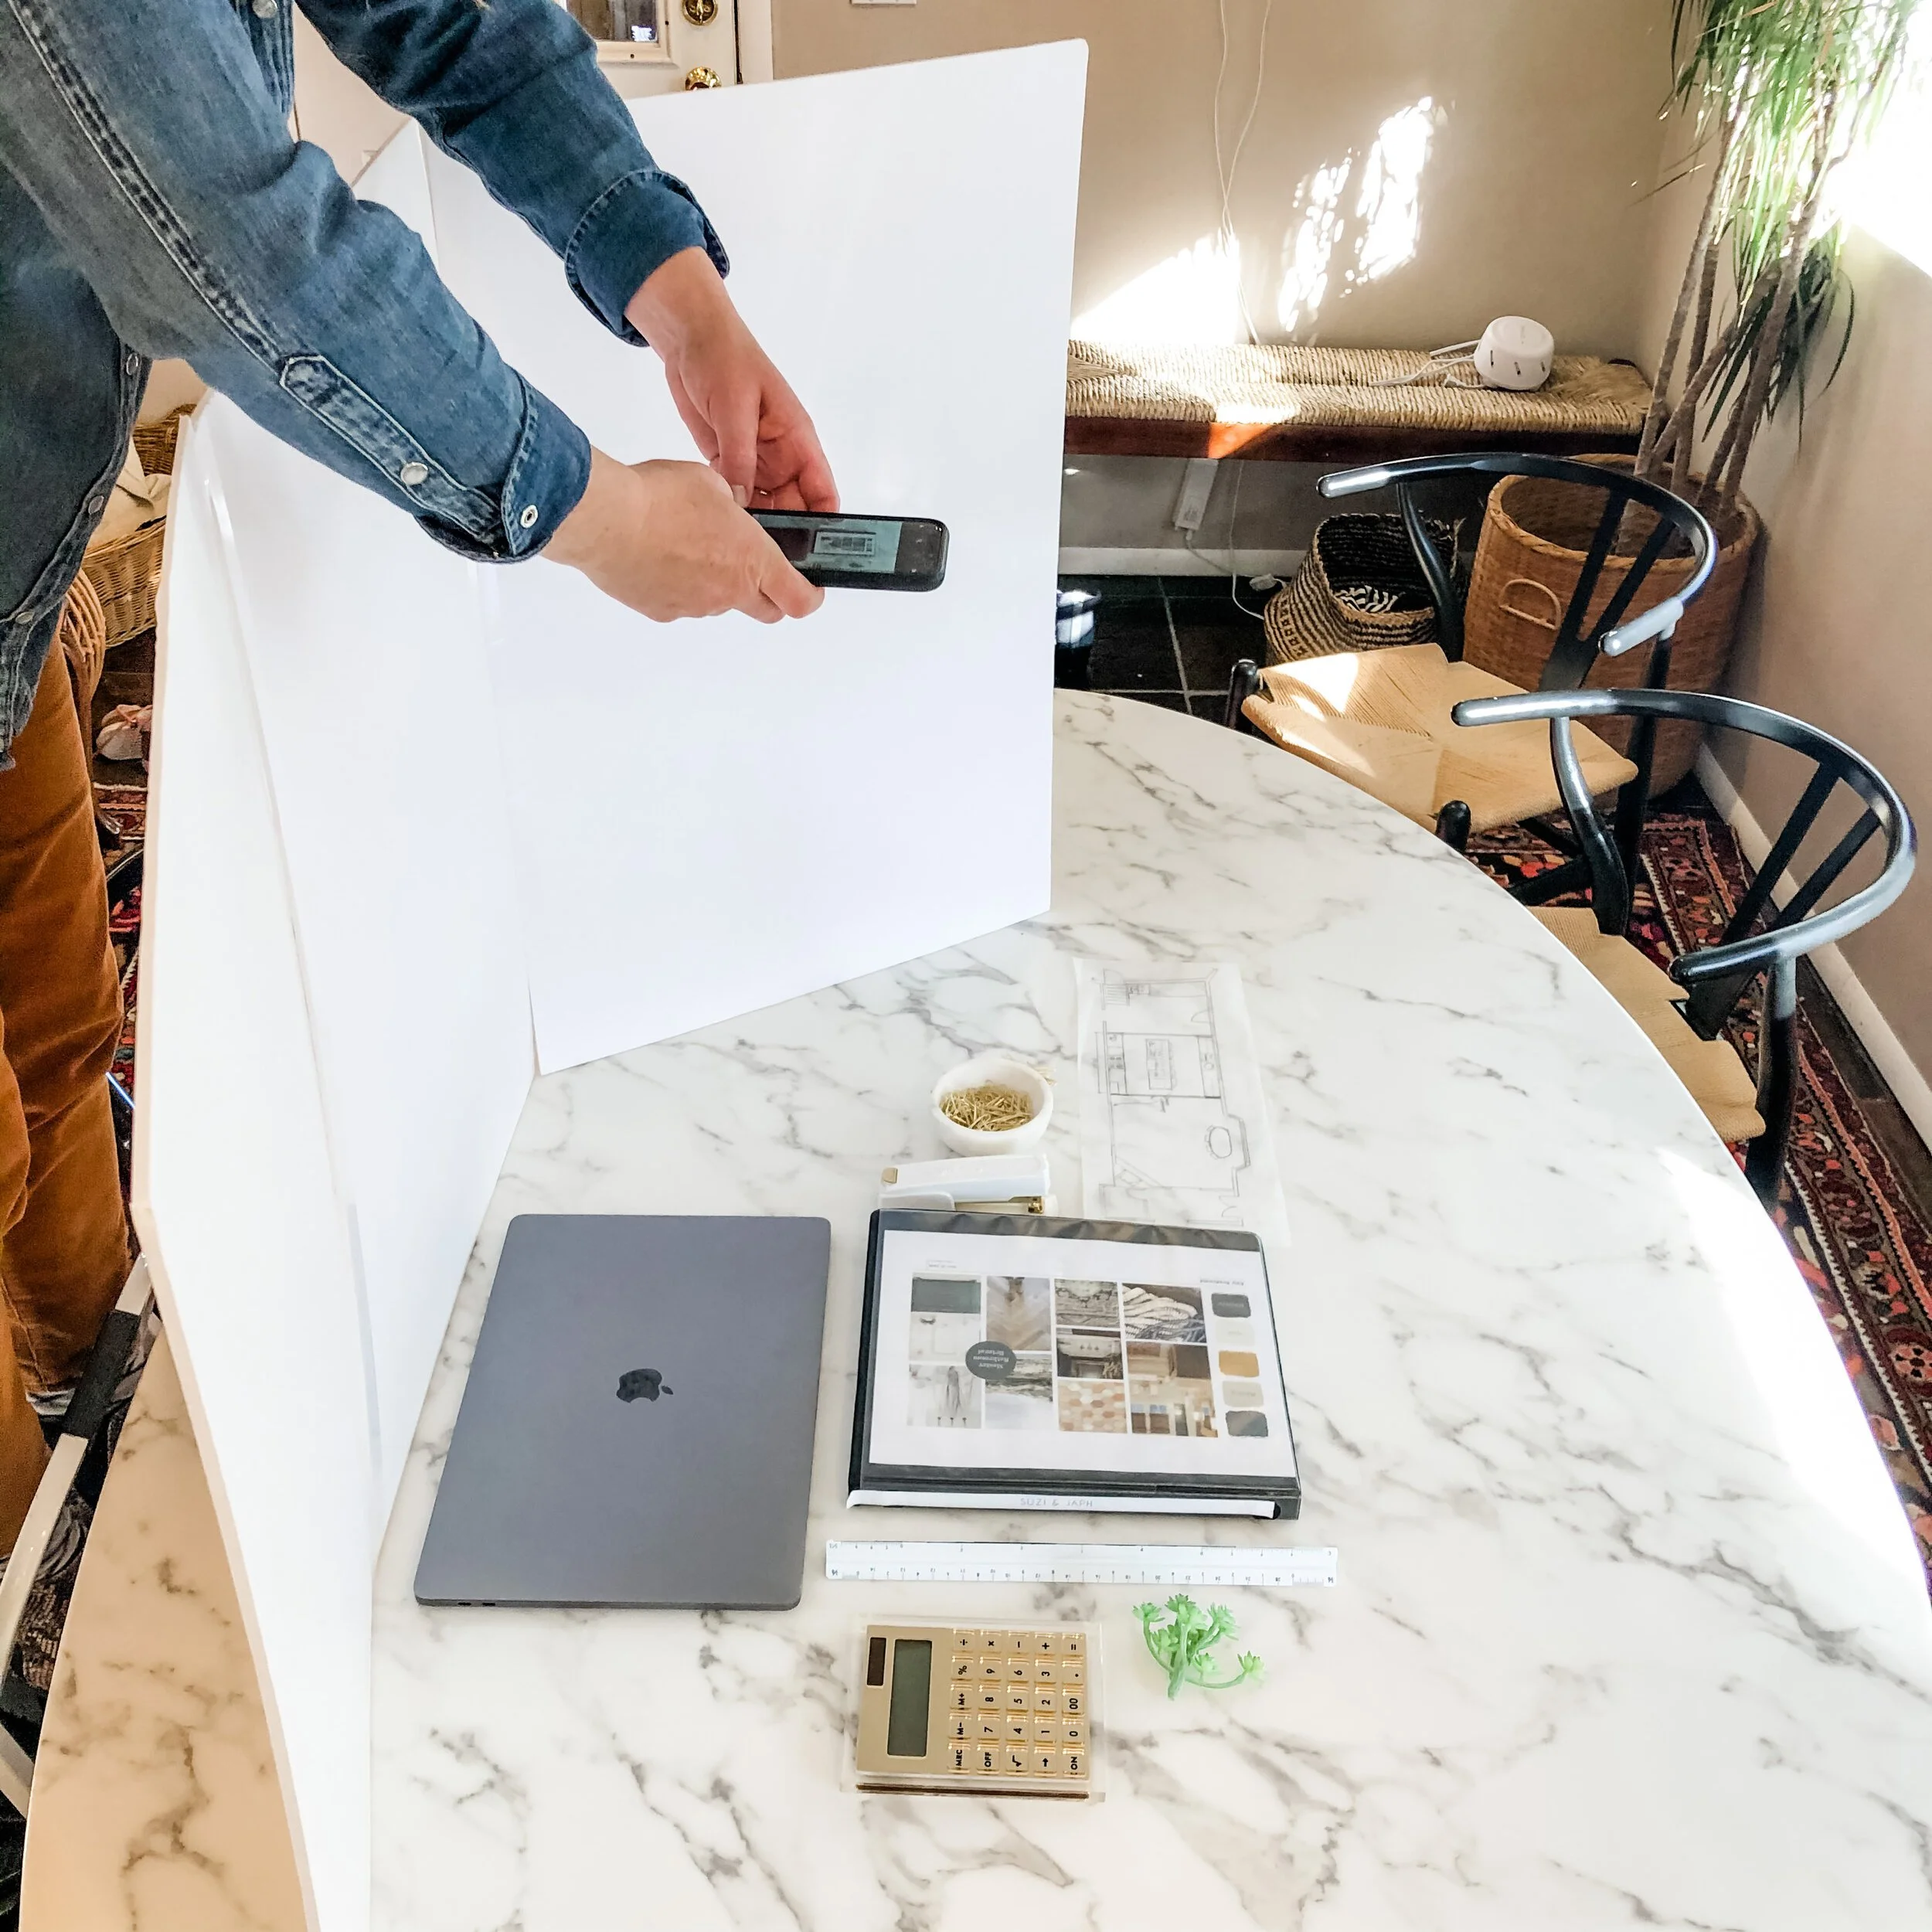
To start, you’ll want to make a light reflector with the foamcore. Using the packing tape, tape the edges of 3 foam core pieces together (Throwback to science fair?!) Alternatively, you can purchase a tri-fold project board, but I prefer the larger size of the 3 taped together.
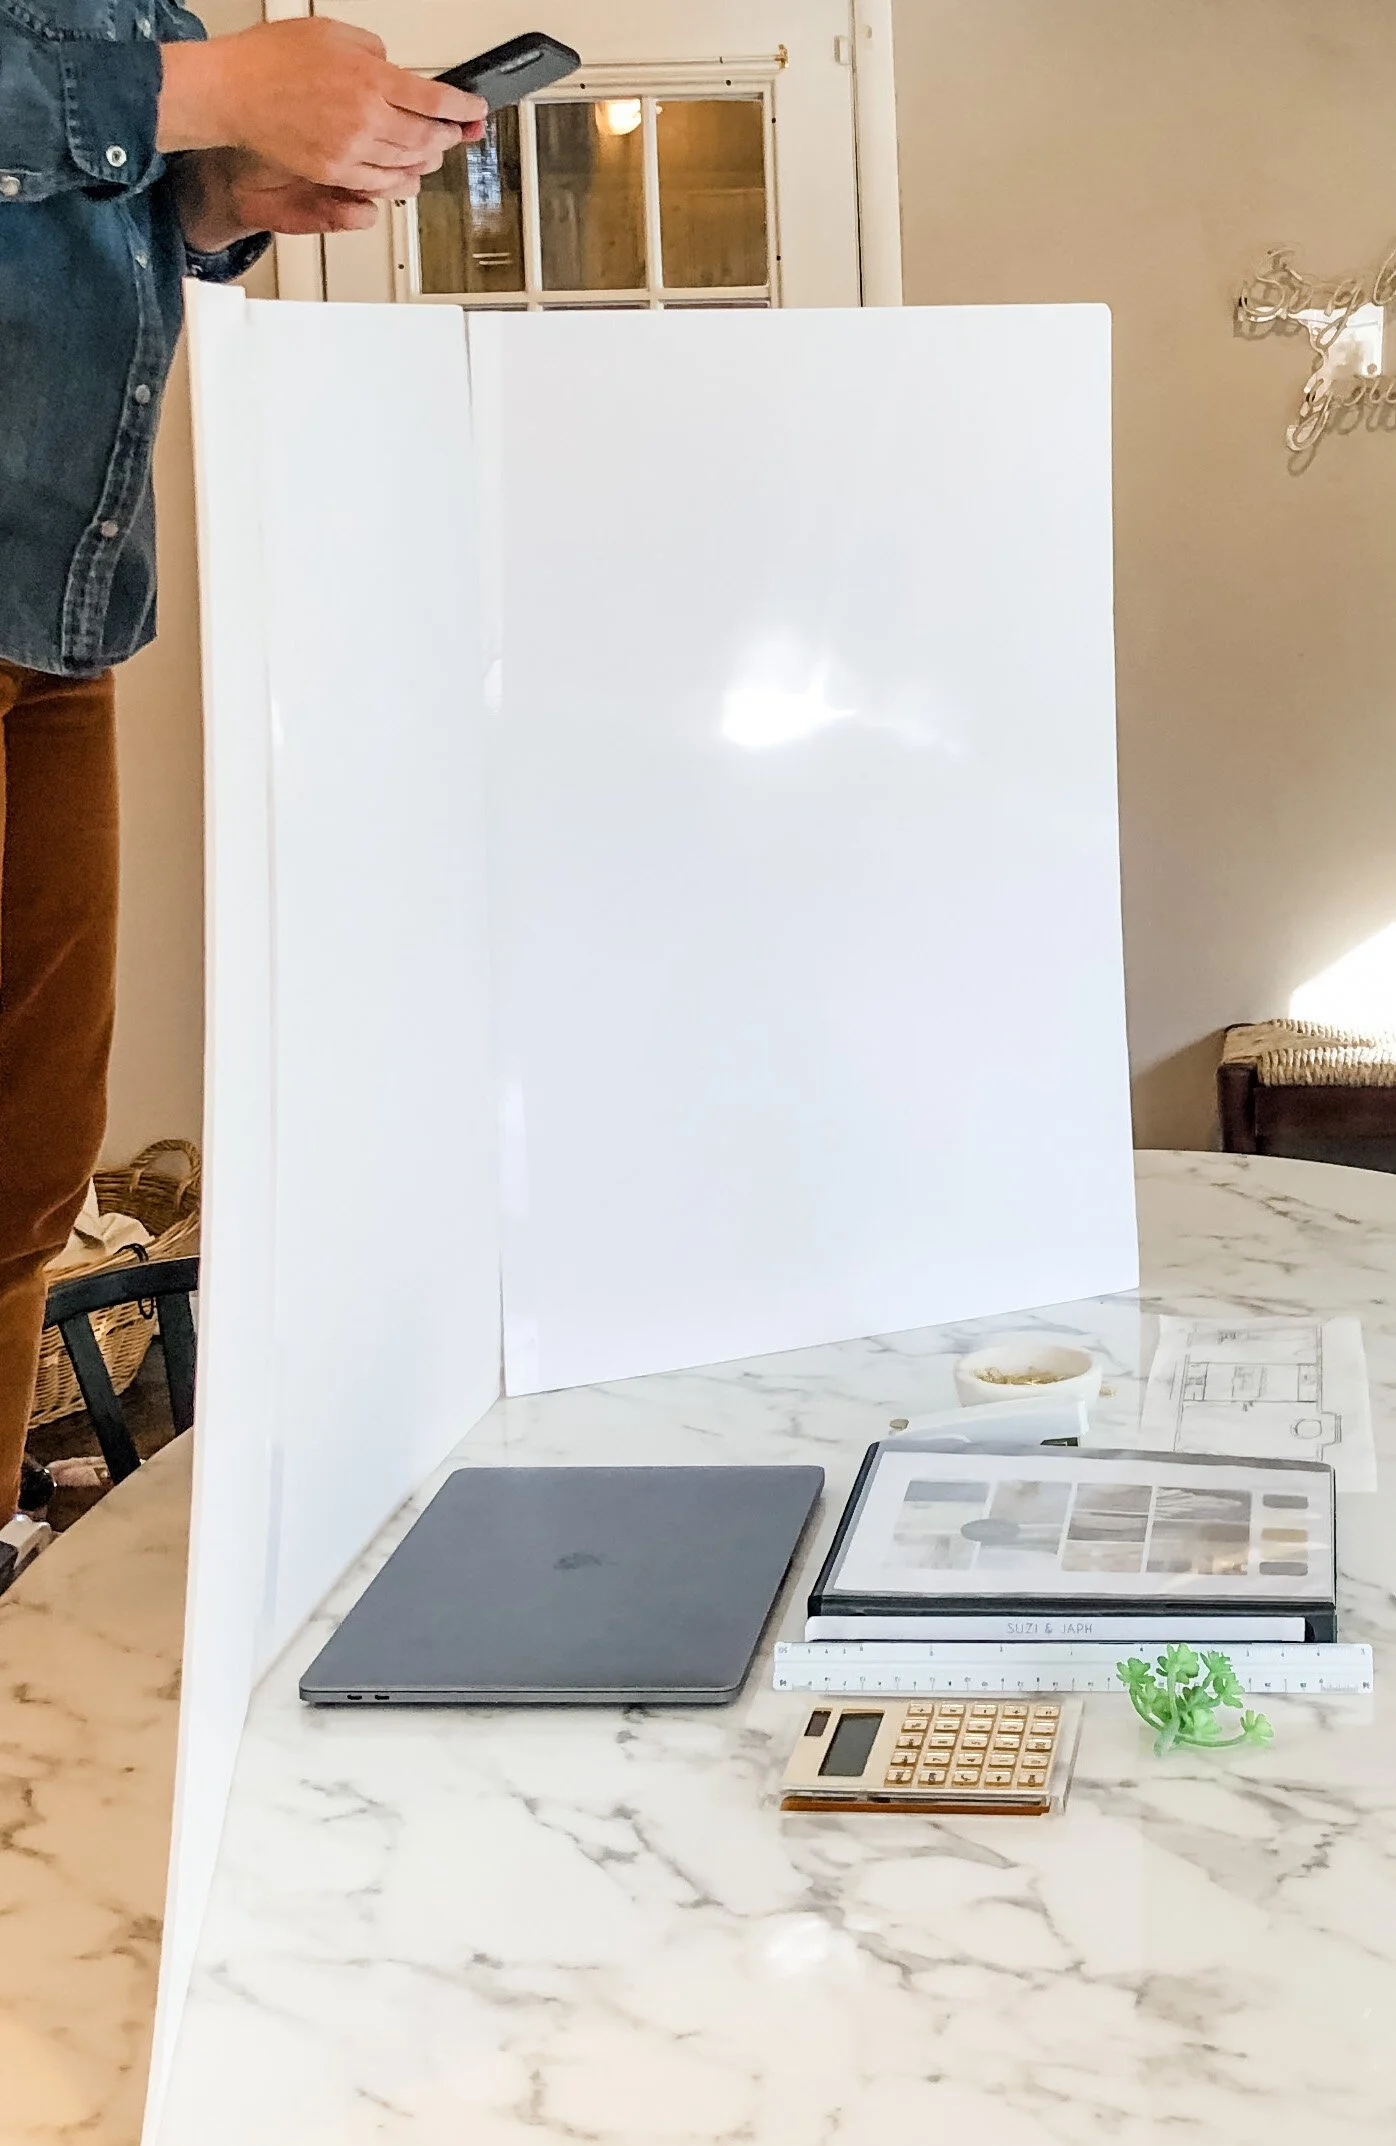
Next, you’ll want to find a place that gets natural but indirect sunlight with a clean background, usually near a sunny doorway or window.

You can use a 4th foam core board if you need a clean backdrop or you purchase prop backgrounds used by photographers.
Here are a few options:


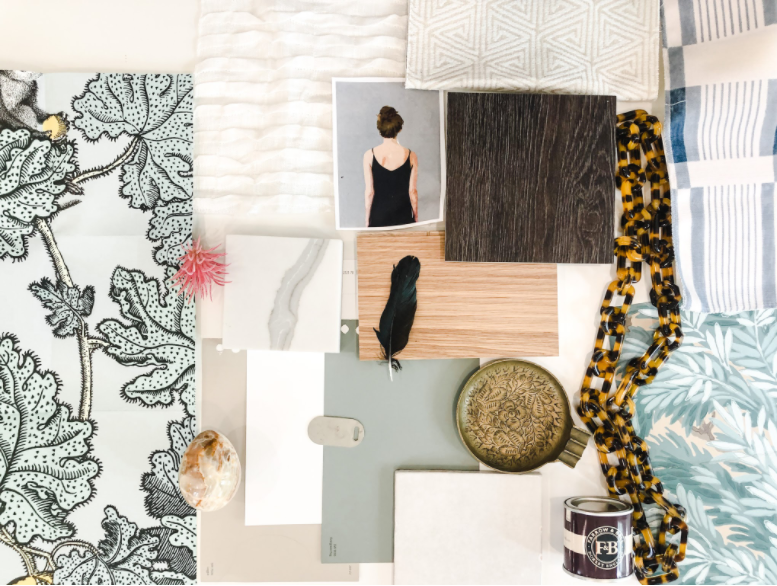
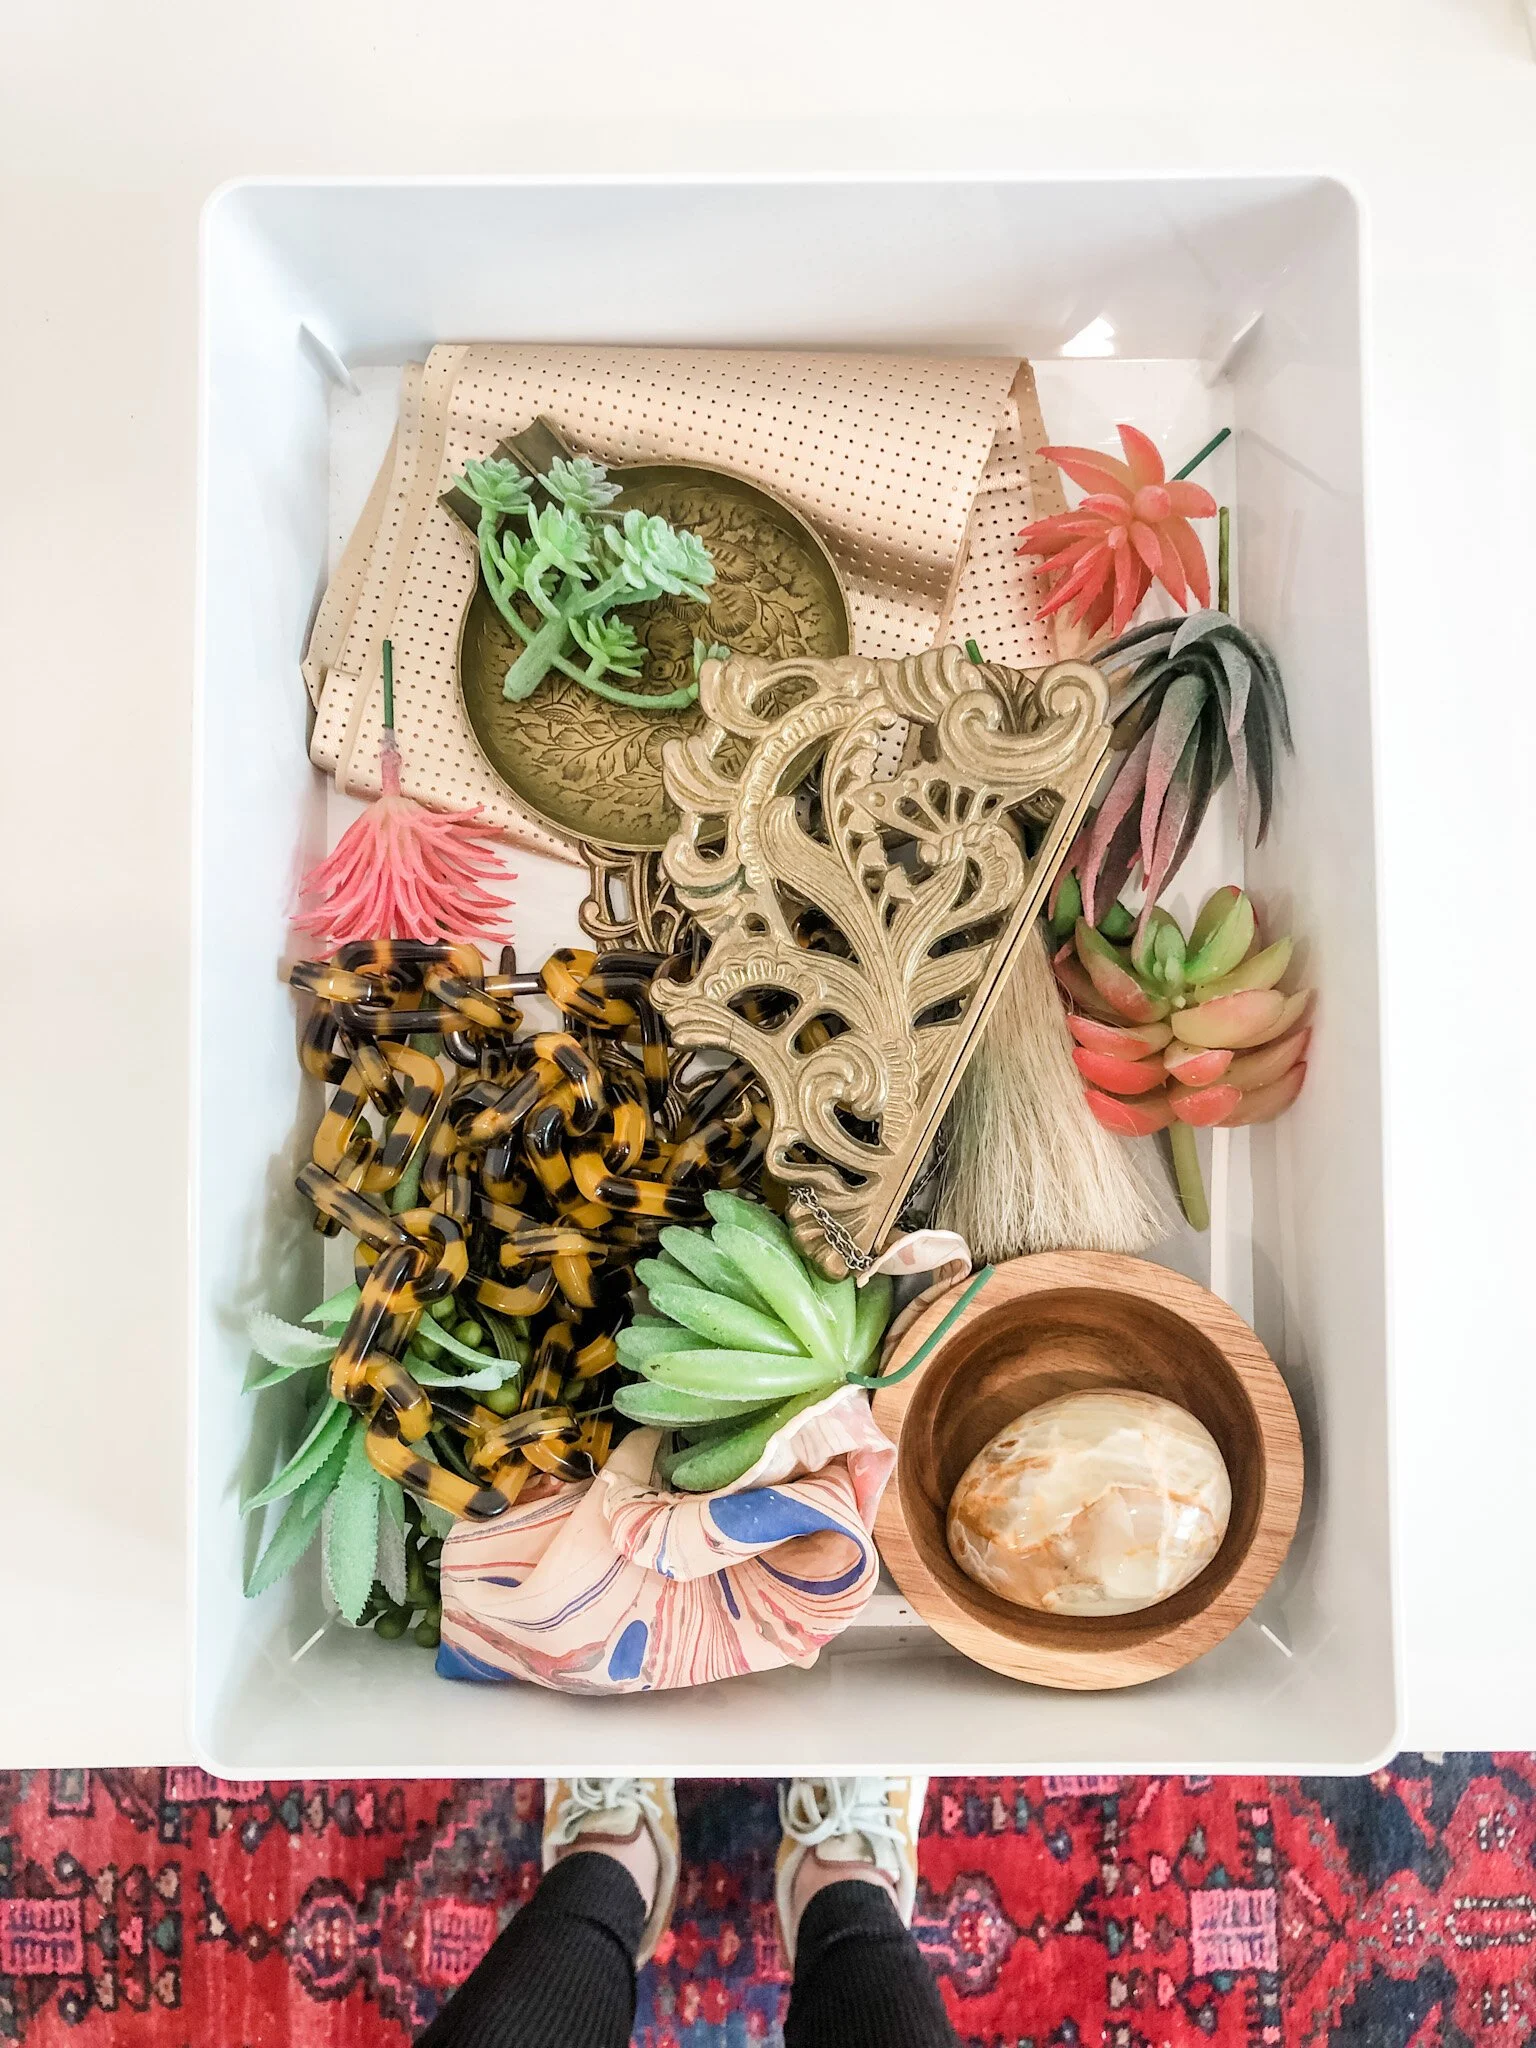
Props
I like to include props such as items from nature, botanicals, wood, metal, and marble items, graphic images such as postcards. I’m always picking up interesting objects from Goodwill or antique stores. Items I don’t use daily live in a box of props.
Be mindful that shiny objects (i.e. pages from a magazine) will create glare so use them sparingly if at all.
If you are showcasing a kitchen or bathroom design, consider adding elements such as bath salts or a pretty hand towel to capture the essence of the space.
Here are some prop examples.
Crystals or other stones
Jewelry
Books
Hands down, NOBODY does creative flat lays like Cortney Bishop. In her images, you can find robots, tequila, shoes, and peanuts.

Composition
Next you’ll want to compose your flatlay paying attention to balance and symmetry. You’ll want to decide if you prefer more organic flatlays like Courtney does, or if you prefer more structured compositions. With structured compositions, you’ll want to ensure all the items in your composition are perfectly straight.
Utilize the rule of thirds which is a fundamental photography theory to create a balanced composition. This rule suggests putting the most important feature of the composition where one of the grid lines intersects. (In Megan’s example above, it’s the tequila bottle obvs.)
iPhone users can easily turn on the composition grid by going to Settings > Photos & Camera > Grid. Android users can read instructions here.
When you do this, you can see the grid to help you create better compositions.

Do not use a flash. Rely on natural light. Shoot from directly overhead, making your camera parallel to the surface. Don’t worry about getting your image perfect. You will be able to crop and straighten your image when editing.
Editing
Once you have your photos, I rely on the (Free) photo editing app “Lightroom” along with presets (paid). The presets allow you to edit multiple elements of a photo with the touch of a button. Here is an example of before and after.

There are lots of presets you can buy. My favorite (and the one I used for this photo) is the Light and Airy Clean Preset Pack. When you purchase it, she provides easy-to-follow instructions to import it into Lightroom.
There you have it! Use these tips to create stunning photos of your everyday work to incorporate into your social media feed or even website.
Hey designer. Thanks for reading. When you try something using the links we provide, we may earn a small commission at no cost to you. We only provide suggestions for products we actually use and recommend. Your support helps keep the blog going. Thank you!


